Customer Portals
A customer portal is a channel that external users reach without an internal account. Customers submit requests, follow their progress, and browse published articles. Each submission becomes a work item in a workspace.
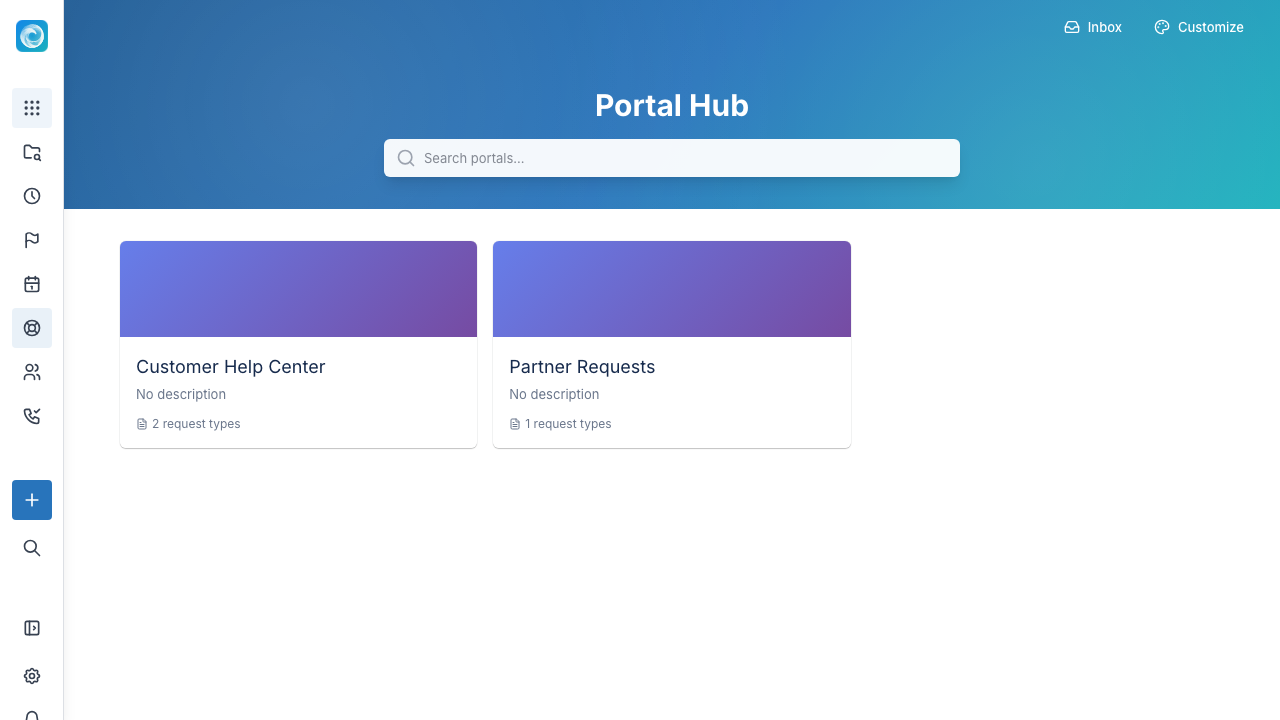
What a portal contains
A portal has:
- A name, a slug, and a description.
- A hero background and branding.
- One or more request types.
- A layout of sections that group the request types.
- One or more served workspaces.
- An optional knowledge base.
- Customer access rules.
The portal hub
The hub is the landing page for a signed-in customer. It shows the portal sections and the request types in each section. A customer selects a request type to open its form.
A customer can open more than one portal when the account has access to each portal.
Customer features
A signed-in customer can:
- Submit a request from a request type.
- Save an in-progress request as a draft and resume it later.
- Follow open requests in My Requests.
- Reply on a request thread.
- Attach files to a request.
- Browse the knowledge base.
- Manage sign-in methods in Profile & security, including passkeys.
Admin configuration
Channel managers configure the portal from the channel admin shell:
| Area | Purpose |
|---|---|
| Portal settings | Slug, title, description, active state, and customer access. |
| Request types | The forms customers complete and the routing to a workspace and item type. |
| Sections | The hub layout that groups request types. |
| Customize | The hero background, gradient, and request type order. |
| Knowledge base | Published workspace pages and an optional Docmost share link. |
| Intakes | The mailboxes that feed the portal. |
| Customer replies | The outbound reply queue. |
Create a portal
- Open Admin and select Channels.
- Select Create Channel.
- Enter a channel name.
- Select the Portal type.
- Enter a slug. The portal URL is
/portal/<slug>. - Select a category and enter a description. Both steps are optional.
- Select Create Channel.
- Open the portal and select the Configuration tab.
- Select the Target Workspaces.
- Enter the Portal Title.
- Select the Registration Mode.
- Enter the Allowed Email Domains. This step is optional.
- Turn on Enable Portal.
Requests become work items
A portal request becomes a work item in the target workspace. The internal team triages and delivers it with the same boards, backlogs, and views as other work.
On the work item, a comment is either a public update or an internal note. The internal note stays inside the workspace. The public update appears in the portal.
Related pages
Permissions
Managing a portal requires channel-management permission on the portal channel. Creating an intake also requires workspace administration on the routing workspace and management on any linked portal.